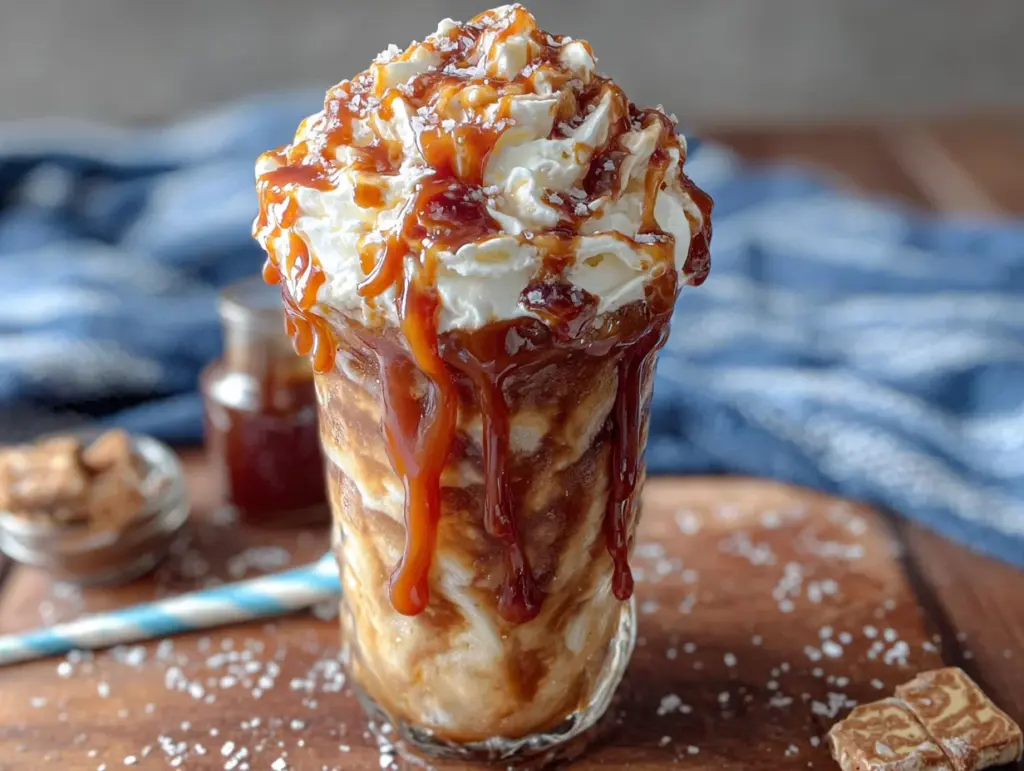
Third time in two weeks I’d made a root beer float, and this time there was a puddle of salted caramel sauce spreading across the kitchen counter because I’d gotten too excited and forgotten to screw the lid back on. Classic me. But honestly? That accident might’ve been the best thing that happened to this recipe. Because instead of a neat, orderly float, I ended up with caramel dripping down the side of the glass, mixing with the vanilla ice cream in this messy, glorious swirl, and I took one sip and thought—okay, this is it. This is the one I’ve been chasing.
I’ve never been a purist about root beer floats. The classic version is fine, sure, but it always felt like it was missing something. A little salt to cut the sweetness. A little richness to make it feel decadent instead of just sugary. And then I remembered the jar of homemade salted caramel in my fridge—the one I’d made for a batch of salted caramel hot chocolate a few weeks back—and I thought, why not? Why not pour a little of that liquid gold over a scoop of vanilla bean ice cream and let it all get cozy with some ice-cold root beer?
This Creamy Salted Caramel Root Beer Float isn’t fancy. It’s not complicated. But it’s the kind of dessert that makes you stop scrolling and just be present for a minute. The caramel sinks to the bottom, the ice cream floats on top, and every sip is a little different from the last. It’s become my go-to when I need a five-minute win at the end of a long day. And trust me—once you try it, you’ll understand why I couldn’t stop making it.
Why You’ll Love This Recipe
This isn’t your average root beer float. I’ve tested this version at least a dozen times—sometimes with different ice creams, sometimes with homemade caramel, sometimes with the store-bought stuff—and every single time, the combination of salty, sweet, creamy, and fizzy hits exactly right. Here’s why this one stands out:
- Quick & Easy: Five minutes from start to finish. No joke. You don’t even need to turn on the stove.
- Simple Ingredients: Root beer, vanilla ice cream, and salted caramel sauce. That’s it. You probably have everything already.
- Perfect for Any Occasion: Birthday treat, after-dinner indulgence, or a random Tuesday pick-me-up—this float fits the bill every time.
- Crowd-Pleaser: Kids love the bubbles, adults love the caramel, and everyone loves the nostalgia factor.
- Unbelievably Delicious: The salt cuts through the sweetness, the caramel adds depth, and the ice cream makes it all feel like a hug in a glass.
What makes this recipe different from the standard version is the layering technique. Instead of just dumping everything in, you drizzle the caramel along the inside of the glass first, then add the ice cream, then pour the root beer. That way, every sip has a hint of caramel, not just the last one. It’s a small tweak that makes a huge difference.
Honestly, this float is the kind of dessert that makes you close your eyes after the first sip. It’s comfort food reimagined—faster, richer, and way more satisfying than the original. Perfect for impressing guests without any stress, or turning a simple evening into something memorable.
What Ingredients You Will Need
This recipe uses just three main ingredients, plus a couple of optional extras if you want to get fancy. The beauty is in the simplicity—each component plays a specific role, and together they create something magical.
- Root Beer: 12 ounces (355 ml), chilled. I prefer A&W or IBC for their creamy vanilla notes, but any brand works. Make sure it’s ice-cold—warm root beer will melt the ice cream too fast.
- Vanilla Ice Cream: 2 large scoops (about 1 cup or 240 ml total). Use full-fat, premium vanilla bean ice cream for the best texture. Häagen-Dazs or Tillamook are my go-tos. The higher the butterfat content, the creamier the float.
- Salted Caramel Sauce: 2-3 tablespoons (30-45 ml). You can use homemade or store-bought. If using store-bought, look for one with real cream and butter—not corn syrup and artificial flavorings. Stonewall Kitchen makes a good one.
- Flaky Sea Salt: A pinch, for garnish (optional but highly recommended). Maldon sea salt flakes are perfect here.
- Whipped Cream: For topping (optional). Because why not?
Ingredient Tips & Substitutions
- For a dairy-free version, use coconut milk ice cream and a dairy-free caramel sauce. The texture will be slightly less creamy, but still delicious.
- If you can’t find salted caramel sauce, regular caramel works—just add a pinch of flaky salt on top.
- Want to make your own salted caramel? It’s surprisingly easy: melt 1 cup of sugar in a saucepan over medium heat until amber, then whisk in 6 tablespoons of butter and 1/2 cup of heavy cream. Stir in 1 teaspoon of flaky salt. Let it cool before using.
- For a boozy adult version, add 1-2 tablespoons of bourbon or dark rum to the glass before pouring the root beer. It pairs beautifully with the caramel.
Equipment Needed
You don’t need much for this recipe, which is part of the appeal. Here’s what you’ll need:
- Tall Glass: A 16-ounce (475 ml) glass works best. The taller the glass, the more dramatic the float looks.
- Ice Cream Scoop: A standard spring-loaded scoop makes perfect round scoops. If you don’t have one, use a large spoon—it’ll just look a little more rustic.
- Measuring Spoons: For the caramel sauce. Eyeballing works too, but measuring keeps things consistent.
- Small Spoon or Straw: For stirring and sipping. A wide straw is best for getting through the ice cream.
Personal Note on Equipment: I’ve tried making floats in short, wide glasses and it just doesn’t hit the same. The proportions are off, and the ice cream melts too fast. Invest in a set of tall soda fountain glasses if you plan on making these regularly—they’re cheap and make everything look ten times more impressive.
Preparation Method
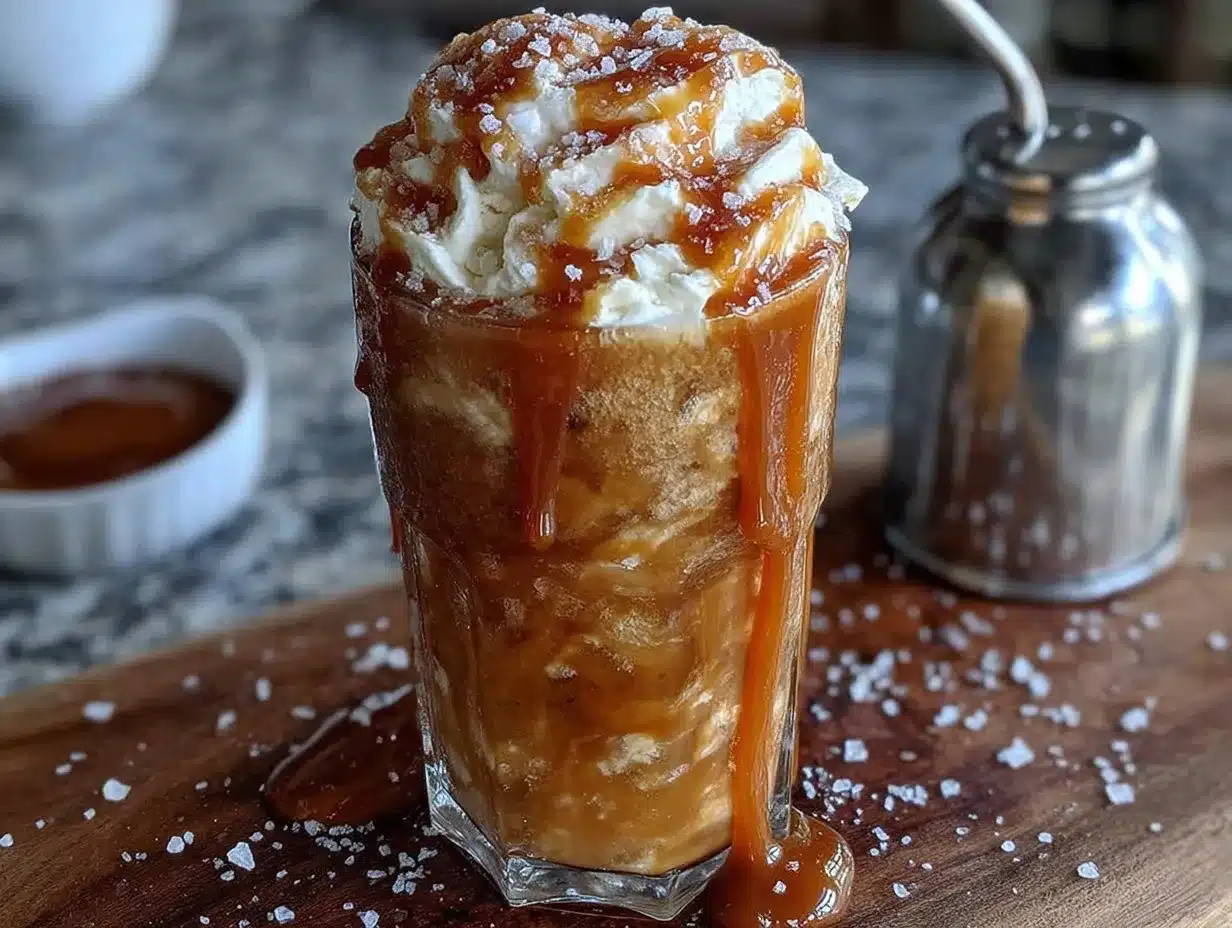
This is the easiest dessert you’ll ever make. Seriously. But there’s a right way and a wrong way to layer a float, and I’ve learned from experience that the order matters.
- Chill Your Glass: Pop your glass in the freezer for 5-10 minutes before you start. A cold glass keeps the ice cream from melting too quickly and helps the float stay fizzy longer. If you’re in a hurry, just rinse the glass with cold water and dry it.
- Drizzle the Caramel: Spoon 1-2 tablespoons of salted caramel sauce into the bottom of the chilled glass. Then, tilt the glass and drizzle another tablespoon along the inside walls. This is the key step—the caramel on the sides will coat every sip as you drink.
- Add the Ice Cream: Scoop 2 generous scoops of vanilla ice cream into the glass. Don’t pack them down—just let them sit on top of each other. The scoops should fill about half the glass.
- Pour the Root Beer: Slowly pour the chilled root beer over the ice cream. Pour at an angle, aiming for the side of the glass rather than directly onto the ice cream. This minimizes the foam and keeps the fizz intact. Fill the glass almost to the top, leaving about half an inch (1 cm) of space.
- Top with Garnishes: Drizzle the remaining tablespoon of caramel sauce over the top. Add a dollop of whipped cream if you’re feeling extra, and sprinkle with a pinch of flaky sea salt. The salt is optional, but it really makes the caramel pop.
- Serve Immediately: Root beer floats wait for no one. Serve with a wide straw and a long spoon. Stir gently before drinking to incorporate the caramel that’s settled at the bottom.
Pro Tip from My Kitchen: If you want the float to look extra photogenic, freeze the glass for 15 minutes and use a slightly under-scooped ball of ice cream. It’ll sit higher above the rim and give you that classic soda fountain look. I learned this after three sad, melting floats—trust me on this one.
Cooking Tips & Techniques
I’ve made more root beer floats than I care to count, and I’ve definitely made my share of mistakes. Here’s what I’ve learned so you don’t have to repeat my failures.
Don’t Overfill the Glass: It’s tempting to pile on the ice cream, but too much will cause the root beer to overflow when you pour it. Stick to 2 scoops for a 16-ounce glass. If you want more ice cream, use a bigger glass.
Chill Everything: The root beer, the glass, and even the caramel sauce should be cold. Warm ingredients create a flat, watery float. I keep my root beer in the fridge for at least 2 hours before making a float.
Pour Slowly: If you dump the root beer in all at once, you’ll get a massive foam head that spills over the sides. Pour it gently, at an angle, and let the carbonation settle as you go.
Use Quality Ice Cream: Cheap ice cream has more air and less fat, which means it melts into a watery mess. Spend the extra dollar on premium ice cream—it makes a noticeable difference in texture and flavor.
My Biggest Failure: The first time I made this, I used warm caramel sauce straight from the stovetop. It melted the ice cream instantly, and I ended up with a sad, lukewarm puddle of brown liquid. Always let your caramel cool to room temperature or refrigerate it before using.
Timing Tip: If you’re making multiple floats for a party, pre-scoop the ice cream onto a baking sheet and keep it in the freezer. Then you can assemble each float in under a minute without rushing.
Variations & Adaptations
This recipe is endlessly customizable. Here are a few variations I’ve tried and loved:
- Chocolate Caramel Float: Use chocolate ice cream instead of vanilla. The chocolate pairs beautifully with the salted caramel and root beer—it’s like a root beer float crossed with a chocolate malt.
- Spiked Adult Float: Add 1-2 ounces of bourbon, dark rum, or even Kahlúa to the glass before adding the root beer. The caramel and bourbon combination is incredible—especially if you’re a fan of maple bourbon cider or a maple cinnamon old fashioned.
- Dairy-Free Version: Use coconut milk or oat milk ice cream and a dairy-free caramel sauce. The texture is slightly less creamy, but the flavor is still spot-on.
- Pumpkin Spice Float: Add a teaspoon of pumpkin pie spice to the caramel sauce before drizzling. It’s a fall twist that works surprisingly well—kind of like a pumpkin pie white Russian in float form.
- Berry Swirl Float: Add a spoonful of strawberry or raspberry syrup to the bottom of the glass along with the caramel. The tartness cuts through the sweetness and adds a pretty pink swirl.
Personal Favorite: The spiked version with bourbon is my go-to for Friday nights. It feels fancy without any effort, and the bourbon’s vanilla notes complement the root beer perfectly.
Serving & Storage Suggestions
Root beer floats are best enjoyed immediately—they don’t store well, and the texture changes fast. But here’s how to make the most of them:
Serving Temperature: Serve immediately while the ice cream is still firm and the root beer is fizzy. The contrast between cold ice cream and bubbly soda is the whole point.
Presentation: Serve in a tall, clear glass so you can see the layers. Add a straw, a long spoon, and maybe a striped paper straw for that retro soda fountain vibe. A small cookie or a piece of chocolate on the side is a nice touch.
Complementary Dishes: This float pairs beautifully with salty snacks like pretzels or potato chips—the salt cuts the sweetness. For a full dessert spread, serve alongside a slice of apple pie or a brownie.
Storage: If you somehow have leftovers (unlikely), you can freeze the melted float mixture in a popsicle mold for a root beer float popsicle. Otherwise, it’s best to just finish it.
Reheating Note: Do not reheat a root beer float. Just don’t. Make a fresh one instead—it takes five minutes.
Flavor Development: As the float sits, the ice cream melts and blends with the root beer, creating a creamy, milkshake-like consistency. Some people prefer it this way. If that’s you, let it sit for 2-3 minutes before drinking.
Nutritional Information & Benefits
Let’s be real—this is a treat, not a health food. But here’s the breakdown if you’re curious:
- Calories: Approximately 450-550 per float (depending on ice cream and caramel amount)
- Fat: 22-28g (mostly from the ice cream and caramel butter)
- Sugar: 45-55g (root beer and caramel are the main sources)
- Protein: 4-6g (from the milk in the ice cream)
- Calcium: About 15% of your daily needs (from the ice cream)
Health Highlights: The calcium from the ice cream supports bone health, and the salt in the caramel provides electrolytes (okay, that’s a stretch, but it’s something). The root beer itself is caffeine-free, making this a kid-friendly option.
Dietary Considerations: This recipe contains dairy and gluten (depending on your caramel sauce—check the label). For a gluten-free version, use certified gluten-free root beer and caramel. For a lower-sugar option, use a sugar-free root beer and a sugar-free caramel sauce.
Personal Note: I don’t make this every day, but when I do, I savor every sip. Life’s too short to skip dessert, and this one is worth the splurge.
Conclusion
This Creamy Salted Caramel Root Beer Float is proof that the best desserts don’t have to be complicated. With just three ingredients and five minutes, you can create something that feels special—something that brings a little joy to an ordinary day. The salty-sweet caramel, the creamy vanilla ice cream, the fizzy root beer—it’s a combination that just works.
I love this recipe because it’s forgiving. You can use any brand of root beer, any ice cream, any caramel sauce, and it’ll still be delicious. It’s the kind of dessert that invites experimentation. Add a splash of bourbon, swap the ice cream flavor, pile on the whipped cream—make it your own.
I’d love to hear how yours turns out. Did you try a variation? Did you add something unexpected? Drop a comment below and let me know. And if you share a photo on social media, tag me—I want to see your caramel-drizzled creations. Until next time, stay sweet (and a little salty).
Frequently Asked Questions
Can I use diet root beer for this recipe?
Yes, you can. Diet root beer will work, but the flavor might be slightly less rich since artificial sweeteners don’t have the same depth as sugar. The texture will still be fizzy and delicious, though.
How do I prevent the ice cream from melting too fast?
Chill your glass in the freezer for at least 10 minutes before assembling. Also, make sure your root beer is ice-cold. Pour the root beer slowly and at an angle to minimize foam and slow down the melting process.
Can I make this ahead for a party?
Not really—root beer floats are best made fresh. But you can pre-scoop the ice cream onto a baking sheet and keep it in the freezer. Then assemble each float right before serving. It takes about 30 seconds per float.
What’s the best root beer brand for floats?
I prefer A&W or IBC for their creamy vanilla notes. Barq’s has a stronger sassafras flavor that some people love, but it can be a bit sharp. Try a few brands and see which one you like best.
Can I make this dairy-free?
Absolutely. Use coconut milk or oat milk ice cream and a dairy-free salted caramel sauce. The texture will be slightly less creamy, but the flavor will still be amazing. Just make sure everything is well-chilled.
Pin This Recipe!
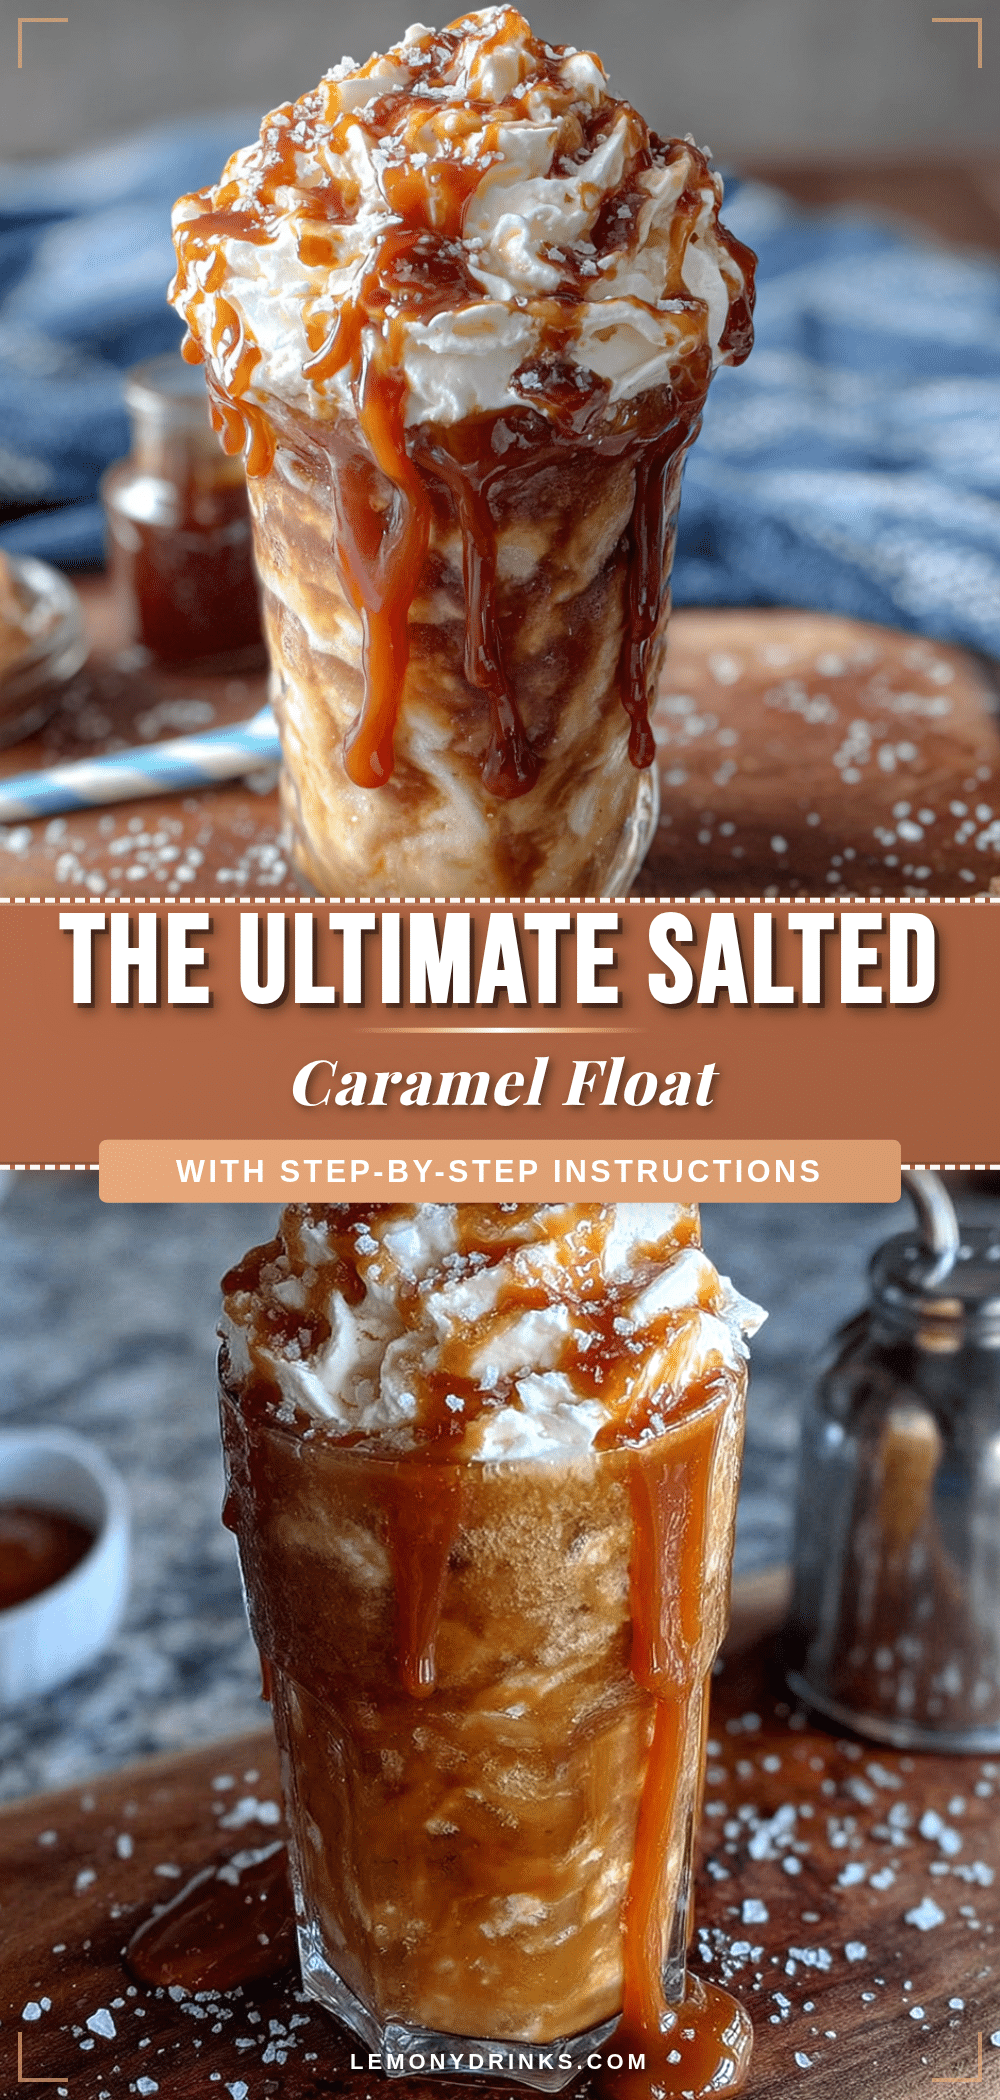
Creamy Salted Caramel Root Beer Float: Easy 5-Minute Dessert

A quick and indulgent root beer float with homemade salted caramel sauce, vanilla ice cream, and fizzy root beer. This 5-minute dessert is perfect for any occasion and features a layering technique that ensures every sip is delicious.
- Prep Time: 5 minutes
- Cook Time: 0 minutes
- Total Time: 5 minutes
- Yield: 1 serving 1x
- Category: Dessert
- Cuisine: American
Ingredients
- 12 ounces (355 ml) root beer, chilled
- 2 large scoops (about 1 cup or 240 ml) vanilla ice cream
- 2–3 tablespoons (30–45 ml) salted caramel sauce
- Pinch of flaky sea salt (optional, for garnish)
- Whipped cream (optional, for topping)
Instructions
- Chill your glass in the freezer for 5-10 minutes before starting.
- Spoon 1-2 tablespoons of salted caramel sauce into the bottom of the chilled glass. Tilt the glass and drizzle another tablespoon along the inside walls.
- Scoop 2 generous scoops of vanilla ice cream into the glass, filling about half the glass.
- Slowly pour the chilled root beer over the ice cream, pouring at an angle to minimize foam. Fill the glass almost to the top, leaving about half an inch (1 cm) of space.
- Drizzle the remaining tablespoon of caramel sauce over the top. Add a dollop of whipped cream if desired, and sprinkle with a pinch of flaky sea salt.
- Serve immediately with a wide straw and a long spoon. Stir gently before drinking to incorporate the caramel.
Notes
For best results, chill the glass and root beer thoroughly. Use full-fat premium vanilla ice cream for creaminess. If using store-bought caramel sauce, choose one with real cream and butter. For a dairy-free version, use coconut milk ice cream and dairy-free caramel sauce. For an adult version, add 1-2 tablespoons of bourbon or dark rum before pouring the root beer.
Nutrition
- Serving Size: 1 float
- Calories: 450550
- Sugar: 4555
- Sodium: 300400
- Fat: 2228
- Saturated Fat: 1418
- Carbohydrates: 5565
- Protein: 46
Keywords: root beer float, salted caramel, easy dessert, 5-minute dessert, vanilla ice cream, caramel float