Okay, you guys—let me tell you about my latest obsession: the Decadent No-Bake Chocolate Peanut Butter Milkshake Indulgence. Seriously, this milkshake is my comfort in a glass. I first whipped it up one late-night when I was craving something sweet but didn’t want to deal with baking, melting, or, honestly, any kind of effort. If you’re anything like me and love the combo of chocolate and peanut butter (hello, Reese’s fans), this is the treat you’ve been looking for.
It’s creamy, rich, and totally satisfying. Plus, it’s ridiculously easy—no oven, no stove, just blend and enjoy. The best part? You can make it in less than five minutes, even if your kitchen skills usually max out at cereal. I always end up licking the straw because it’s THAT good. Whether you want a quick dessert or a treat for movie night, this milkshake hits the spot every time. Stick around, and I’ll show you how to make your own chocolaty peanut butter heaven!
What Inspired the Decadent No-Bake Chocolate Peanut Butter Milkshake?
So, this milkshake was born out of pure late-night desperation. I was binge-watching my favorite show (no judgment if you love reality TV), and suddenly, those chocolate peanut butter cravings hit HARD. I didn’t want to bake brownies or cookies—too much work, too much waiting. I needed something instant, and honestly, something that felt a little indulgent.
I remembered those fancy milkshakes you see all over Pinterest—the ones piled high with whipped cream and chocolate drizzle. But all I had was ice cream, some peanut butter, and chocolate syrup. That’s when I decided to go rogue and blend up my own version, and it was love at first sip. Turns out, this combo isn’t just popular in desserts but also in shakes, and for good reason. It’s the kind of drink that makes you close your eyes and say, “Oh wow.”
This Decadent No-Bake Chocolate Peanut Butter Milkshake is perfect for so many moments: lazy summer afternoons, a quick pick-me-up after work, or when you just need a little “me time.” It’s also a hit with friends—trust me, make two, because someone will steal yours. It’s sweet, a little salty, and so creamy, you’ll forget you ever wanted anything else. If you want something that feels like a treat but requires almost zero effort, this is it!
What Ingredients Make This Milkshake So Special?
Now, let’s talk about what actually goes into this milkshake. I promise you don’t need anything fancy—just some basics that, when mixed together, become seriously magical.
- Vanilla Ice Cream: The base for that extra creamy texture. You want full-fat for the best flavor, but if you have a dairy-free or lighter version, it totally works. I’ve tried oat milk ice cream, and it’s awesome!
- Milk: Regular, almond, oat, whatever you have on hand. This helps everything blend smoothly. If you want it extra thick, use less milk. If you like it more sippable, add a splash more.
- Peanut Butter: The star of the show. Creamy is my go-to because it blends better, but chunky adds a fun texture. If you’re allergic or just not a peanut butter fan, sunflower seed butter or almond butter make great swaps.
- Chocolate Syrup: For that fudgy flavor. Homemade or store-bought works. You could even melt a little chocolate if you’re feeling fancy, but syrup keeps it easy.
- Optional Extras: A pinch of salt (trust me, it makes the flavors POP), whipped cream for topping, chocolate chips, or crushed cookies for that Pinterest-worthy look.
Picking good ice cream and peanut butter makes a huge difference. I always check the peanut butter for just peanuts and salt—no weird oils if you can help it. The chocolate syrup is where you can play: dark for a deeper flavor, classic for nostalgia. If you’re out of something, don’t panic; this milkshake is super forgiving. I’ve swapped in cookie butter, hazelnut spread, or even swapped chocolate syrup for caramel. Each time, it’s delicious in its own way.
Most of these ingredients are in your fridge or pantry right now. If you want to make it extra special, grab your favorite toppings or a fancy glass. But honestly, this milkshake tastes amazing even if you drink it straight from the blender (guilty as charged). It’s all about what you like, so go with your gut!
Equipment & Tools You’ll Need
You don’t need a milkshake machine or anything wild—just keep it simple:
- Blender: Any blender works! I use my old countertop blender, but even a stick blender can handle it.
- Measuring Cups and Spoons: For getting the ratios right, but eyeballing works if you’re confident.
- Pretty Glasses: If you want to show off your creation, grab a mason jar or a tall milkshake glass. Or, honestly, whatever cup’s clean!
- Spoon or Straw: Thick shakes need a spoon, but a jumbo straw works too.
If you don’t have a blender, you can sort of smash everything together with a fork and whisk, but it won’t be as smooth. Still hits the spot, though!
How to Make the Decadent No-Bake Chocolate Peanut Butter Milkshake
Alright, here’s where things get fun. You’ll be slurping this up in five minutes—promise! Here’s a step-by-step guide, plus little tips that I’ve picked up along the way.
- Start with Ice Cream: Scoop about 2 cups (that’s roughly 4 big scoops) of vanilla ice cream into your blender. If your ice cream is rock-hard, let it sit for a couple minutes.
- Add Milk: Pour in 1/2 cup of your chosen milk. Want it thicker? Use less! Want it thin and sippable? Add a splash extra.
- Peanut Butter Time: Drop in 2 heaping tablespoons of peanut butter. Creamy blends smoother, but chunky gives you little peanut bits—so good.
- Chocolate Syrup: Pour in 3 tablespoons of chocolate syrup. I sometimes go wild and add an extra drizzle if I’m in the mood for more chocolate. You do you!
- Pinch of Salt (Optional): If you want to boost the flavors, sprinkle in a tiny pinch of salt. It’s a game changer.
- Blend Away: Pop the lid on and blend until smooth. Stop and scrape down the sides if needed. If it seems too thick for your blender, add a bit more milk.
- Taste Test: Take a little sip. Want stronger peanut butter? Add another spoonful. More chocolate? Drizzle it in!
- Pour & Top: Pour into your favorite glass. Top with whipped cream, more syrup, chocolate chips, or crushed cookies. The more toppings, the more fun!
If your shake is too runny, add a little more ice cream and blend again. If it’s too thick, just add a splash of milk. Sometimes my blender gets stuck, so I shake it around or poke the ice cream down with a spoon (carefully, obviously). There’s no perfect science here—just go with what looks and tastes right to you.
Cleanup is quick, too! I rinse my blender right after so nothing sticks. And if you’re making this for friends, double the recipe—trust me, everyone wants seconds.
Tips & Tricks for the Best Chocolate Peanut Butter Milkshake
Over the years (okay, mostly late-night cravings), I’ve picked up a few tricks to make this milkshake even better:
- Chill Your Glass: Pop your glass in the freezer for a few minutes before pouring in the shake. It keeps everything frosty.
- Use Frozen Banana: If you want to sneak in some fruit or lighten things up, add half a frozen banana. It thickens the shake and adds sweetness without changing the flavor too much.
- Don’t Overblend: If you blend too long, it can get runny. Pulse until just smooth.
- Adjust to Taste: Everyone’s peanut butter and chocolate sweet spot is different. Don’t be afraid to taste and tweak!
- Messy Is Good: Don’t stress about perfect layering or fancy toppings. Some of my best shakes are the ones that look a little wild.
I’ve definitely made mistakes—like not adding enough milk and ending up with milkshake “ice cream,” or blending too long and getting soup. Just laugh it off and try again. The cool thing about this recipe is that it’s hard to mess up. If you want to speed things up, measure everything straight into the blender. Want a richer shake? Use chocolate ice cream instead of vanilla. The possibilities are endless!
Also, don’t be afraid to go overboard with toppings. I once added crushed pretzels, and it was a salty-sweet dream. Get creative and make it your own!
Variations & Customizations for Every Taste
The Decadent No-Bake Chocolate Peanut Butter Milkshake is super flexible. Here’s how you can switch it up:
- Dairy-Free: Use non-dairy ice cream (like coconut or almond milk versions) and plant-based milk. Still creamy and delicious!
- Nut-Free: Swap peanut butter for sunflower seed butter or cookie butter—so good!
- Healthier Twist: Use frozen banana instead of ice cream, cocoa powder instead of syrup, and natural nut butter. You still get a treat, but it’s a bit lighter.
- Extra Indulgent: Add a scoop of chocolate ice cream or swirl in some caramel sauce. Go wild with toppings—think mini marshmallows, crushed candy, or even a drizzle of espresso for a mocha vibe.
- Make It Boozy: For grown-ups, add a splash of coffee liqueur or Irish cream. It’s a party in a glass!
One time, I made a s’mores version with graham cracker crumbs and marshmallow fluff on top. Honestly, it was borderline dessert overload, but I loved it. Play around—this shake is your canvas!
Serving & Storage Tips
The best way to enjoy your Decadent No-Bake Chocolate Peanut Butter Milkshake is fresh and icy cold. Pour it into a chilled glass, pile on the toppings, and serve right away. If you want that classic milkshake shop vibe, use a tall glass and a big straw (or two!).
If you need to make it ahead, you can blend everything and keep it in the fridge for up to an hour—just give it a quick stir before serving, since it can separate a bit. For longer storage, freeze it in popsicle molds for a fun frozen treat. Leftovers keep in the freezer for up to a week, but honestly, they never last that long in my house!
For hot summer days, serve it extra cold, maybe with some ice cubes if you like. If you make a batch and it gets too thick in the fridge, just blend in a splash of milk to bring it back to life. Easy peasy!
Any Health Benefits? (Just a Little)
Okay, this milkshake is definitely a treat, but it’s got a few perks! Peanut butter gives you a nice hit of protein, making it a little more satisfying. If you use natural peanut butter and milk, you get some healthy fats and calcium too.
Go for non-dairy or less-sugar options if you want it lighter. I’ve made it with oat milk and coconut ice cream, and it’s still awesome. Plus, adding banana sneaks in a little potassium. So while it’s a decadent dessert, you can tweak it to fit your vibe—no judgment here!
FAQs – All About Decadent No-Bake Chocolate Peanut Butter Milkshake
Can I make this milkshake without a blender?
Yep! Mash the ice cream, peanut butter, and milk in a big bowl with a fork or whisk. It’ll be a little chunkier, but still yummy.
What if I’m allergic to peanuts?
No problem—use sunflower seed butter, almond butter, or even cookie butter. The shake will taste different but still delicious.
Can I use chocolate ice cream instead of vanilla?
Absolutely! It makes the shake extra rich and chocolaty. You can even mix both for a twist.
How do I make it vegan?
Just use plant-based ice cream and milk, plus a vegan chocolate syrup. Easy swap and still super creamy.
Can I make this ahead of time?
You can blend it and keep it in the fridge for up to an hour, but it’s best fresh. For longer storage, freeze in popsicle molds!
So there you have it—everything you need to whip up a Decadent No-Bake Chocolate Peanut Butter Milkshake Indulgence. If you try it out, let me know your favorite tweaks or toppings. Happy sipping! 🥤
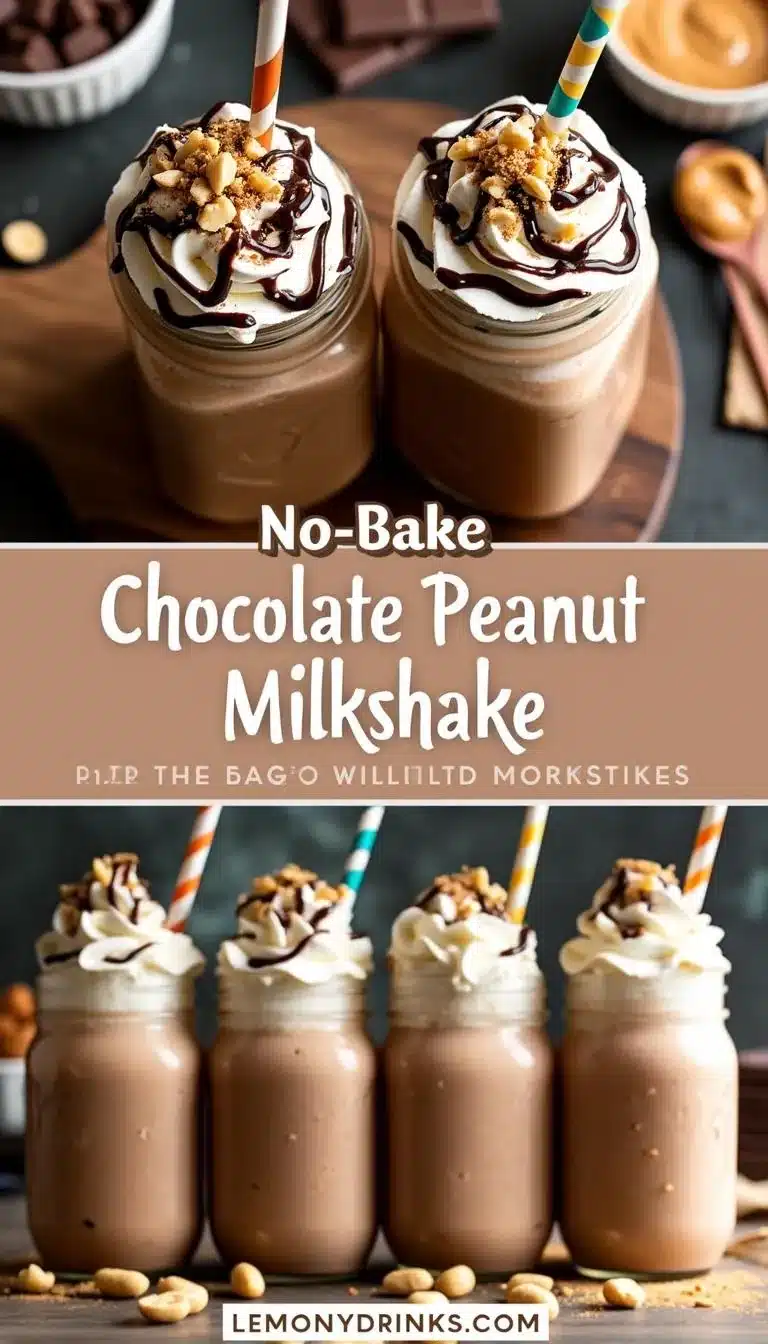
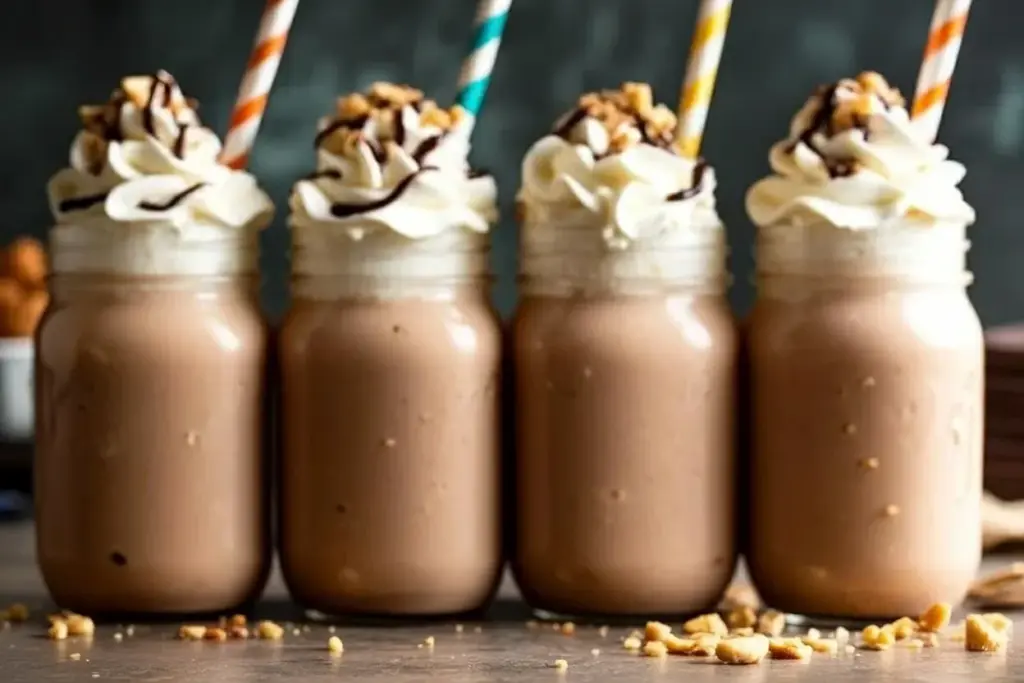
No-Bake Chocolate Peanut Butter Milkshake
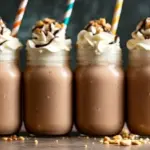
This decadent no-bake chocolate peanut butter milkshake is creamy, rich, and incredibly easy to make—perfect for satisfying late-night cravings or as a quick dessert. With just a few pantry staples and five minutes, you’ll have a dreamy treat that’s sweet, salty, and totally indulgent.
- Prep Time: 5 minutes
- Total Time: 5 minutes
- Yield: 2 servings 1x
- Category: Milkshake
Ingredients
- 2 cups vanilla ice cream (about 4 big scoops, full-fat or non-dairy)
- 1/2 cup milk (dairy or non-dairy)
- 2 heaping tablespoons creamy peanut butter
- 3 tablespoons chocolate syrup
- Pinch of salt (optional)
- Whipped cream, for topping (optional)
- Chocolate chips or crushed cookies, for topping (optional)
Instructions
- Scoop 2 cups of vanilla ice cream into your blender. If the ice cream is too hard, let it sit for a couple of minutes.
- Add 1/2 cup of milk. For a thicker shake, use less milk; for a thinner shake, add a splash more.
- Add 2 heaping tablespoons of creamy peanut butter.
- Pour in 3 tablespoons of chocolate syrup.
- Add a pinch of salt if desired to enhance the flavors.
- Blend until smooth, stopping to scrape down the sides if needed. If the shake is too thick, add a bit more milk.
- Taste and adjust: add more peanut butter or chocolate syrup if desired, then blend again.
- Pour into a chilled glass. Top with whipped cream, extra chocolate syrup, chocolate chips, or crushed cookies as desired.
- Serve immediately with a straw or spoon.
Notes
For a vegan or dairy-free version, use plant-based ice cream and milk. Adjust the thickness by varying the amount of milk. Add a frozen banana for extra creaminess and nutrition. Chill your glass before serving for an extra frosty treat. Get creative with toppings—crushed pretzels, marshmallow fluff, or caramel sauce are all delicious options.
Nutrition
- Serving Size: 1 large glass (about 12 ounces)
- Calories: 520
- Sugar: 48
- Sodium: 260
- Fat: 27
- Saturated Fat: 13
- Carbohydrates: 60
- Fiber: 2
- Protein: 11
Keywords: chocolate peanut butter milkshake, no-bake milkshake, easy milkshake recipe, peanut butter dessert, chocolate shake, quick dessert, summer drink, creamy milkshake, vegan option, dairy-free milkshake