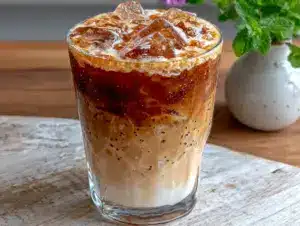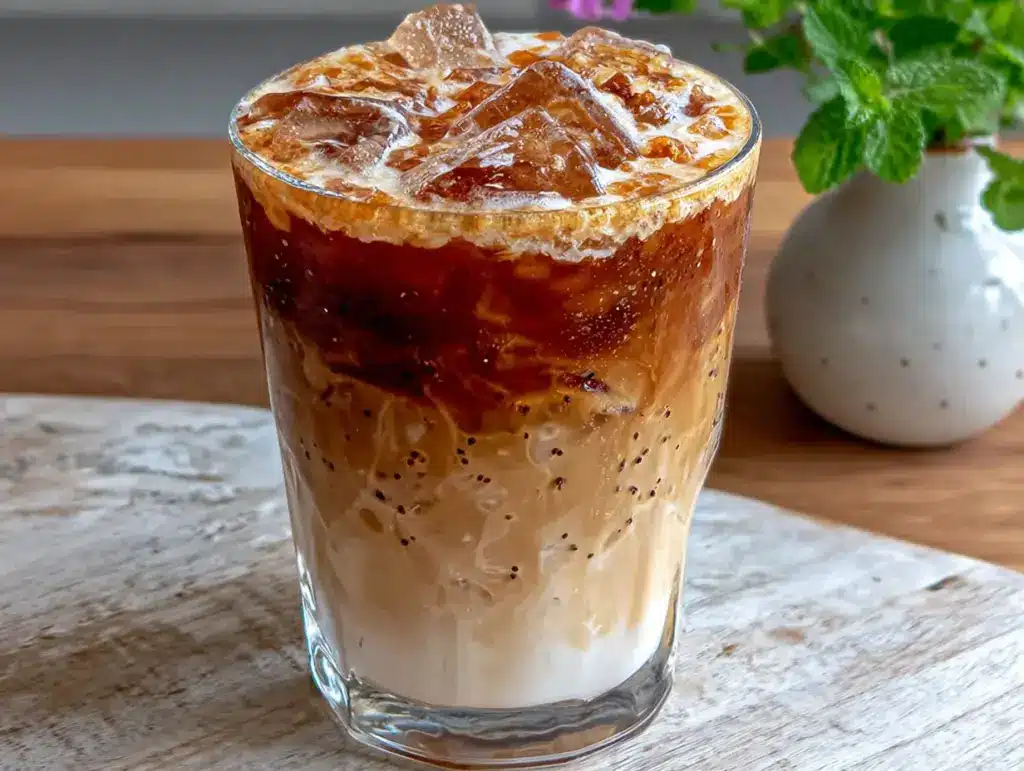
That first crack of condensation running down a tall glass, the way the ice cubes clink against the side, and that first sip where the cold creaminess hits your tongue before the coffee does — that’s the whole point of this creamy homemade vanilla bean iced oat milk latte. I didn’t set out to reinvent the wheel. I just wanted a coffee that didn’t taste like an afterthought, you know? Something that felt like a real treat, not just a caffeine delivery system.
I’ve spent way too much money on these at coffee shops. Honestly, it’s embarrassing. I’d order one, take two sips, and think, “I could make this better at home.” And not just better — cheaper, faster, and exactly the way I like it. No watery espresso shots, no weird aftertaste from pre-packaged syrups. Just real vanilla bean, good oat milk, and strong coffee that actually tastes like something.
This recipe started on a random Tuesday morning when I was out of my usual creamer and too lazy to go to the store. I had a vanilla bean pod sitting in the pantry (leftover from a baking project I never finished), a carton of oat milk, and a desperate need for something cold and caffeinated. I figured, why not? Worst case scenario, I’d have a weird kitchen experiment. Best case? I’d never buy a coffee shop latte again. Spoiler: it was the best case.
There’s something about making your own vanilla syrup from scratch that changes everything. It’s not just sweet — it’s fragrant, complex, and feels like a little secret you’re keeping from the world. And when you pour that creamy oat milk over ice and watch it swirl into the coffee? That’s the kind of small joy that makes a regular morning feel special. Trust me on this one.
Why You’ll Love This Recipe
I’ve tested this creamy homemade vanilla bean iced oat milk latte about a dozen times now. Not because I had to, but because I wanted to get it just right. And I think I finally nailed it. Here’s why this version stands out from every other iced latte recipe out there.
- Quick & Easy: This comes together in under 10 minutes. Seriously. No complicated steps, no fancy equipment. Just you, your coffee maker, and a fridge full of cold ingredients.
- Simple Ingredients: You probably already have most of this stuff in your kitchen. Oat milk, coffee, vanilla bean (or extract), and a little sweetener. No weird preservatives or hard-to-find items.
- Perfect for Any Occasion: Great for a quiet morning at home, a mid-afternoon pick-me-up, or even serving to guests who think you bought it from a café. It’s versatile like that.
- Crowd-Pleaser: Every single person I’ve made this for has asked for the recipe. It’s that good. Even my friend who swears she hates oat milk loved this latte.
- Unbelievably Delicious: The texture is what gets you. The oat milk makes it naturally creamy without being heavy, and the real vanilla bean adds those tiny black specks that feel so luxurious. It’s next-level comfort in a glass.
What makes this recipe different from the rest? It’s the homemade vanilla syrup. Most recipes use store-bought syrup that tastes artificial or overly sweet. By making your own, you control the sweetness and get that deep, floral vanilla flavor that bottled stuff just can’t replicate. Plus, blending the oat milk with a tiny pinch of salt (trust me on this) brings out the natural sweetness of the milk and balances the coffee’s bitterness perfectly.
This isn’t just another iced latte recipe — it’s the one you’ll come back to again and again. It’s comfort in a glass, but faster and more personal than anything you’d order at a drive-thru.
What Ingredients You Will Need
This recipe uses simple, wholesome ingredients to deliver bold flavor and satisfying texture without the fuss. Most of these are pantry staples or easy to find at any grocery store. Let me walk you through what you’ll need and why each one matters.
For the Homemade Vanilla Syrup
- 1 vanilla bean pod (or 2 teaspoons pure vanilla extract) — The star of the show. If you can find a real vanilla bean, the tiny black specks make the latte look and taste incredible. I like using Madagascar vanilla beans for their rich, creamy flavor. If you’re using extract, make sure it’s pure vanilla, not imitation.
- 1/2 cup water — Just regular tap or filtered water. This is the base for the syrup.
- 1/2 cup granulated sugar (or coconut sugar for a less refined option) — You can also use maple syrup or agave, but the texture will be slightly thinner. I’ve tested all three, and granulated sugar gives the best consistency for a syrup that doesn’t sink straight to the bottom of your glass.
- Pinch of sea salt — This is my secret ingredient. A tiny pinch of salt balances the sweetness and makes the vanilla flavor pop. Don’t skip it.
For the Latte

- 1 cup strong brewed coffee (or 2 shots of espresso) — I recommend using a dark roast or a medium-dark roast for a bold flavor that stands up to the milk and syrup. Cold brew concentrate works great too if you want an even smoother taste.
- 1 cup oat milk (barista blend preferred) — Not all oat milk is created equal. Barista blends have a higher fat content and emulsifiers that make them creamier and less likely to separate. I’ve tried Oatly Barista Edition and Califia Farms, and both work beautifully. Regular oat milk will work, but it might be a bit thinner.
- Ice cubes — Lots of them. You want enough to fill your glass almost to the top. I use large square ice cubes because they melt slower and don’t water down the latte as fast.
- Optional: 1-2 tablespoons heavy cream or coconut cream — If you want an extra indulgent version, a splash of cream on top takes it over the edge. I do this when I’m feeling fancy.
Substitution Guidance
If you’re dairy-free, stick with oat milk — it’s naturally lactose-free and vegan. For a nut-free option, oat milk is perfect. If you want to cut down on sugar, use half the amount of syrup or swap in a sugar-free vanilla sweetener. And if you don’t have a vanilla bean, the extract works just fine. I’ve made this with both, and while the bean is prettier, the extract still tastes amazing.
Equipment Needed
You don’t need a fancy espresso machine for this creamy homemade vanilla bean iced oat milk latte. Here’s what I use and what you can substitute if you’re working with a basic kitchen setup.
- Coffee maker or espresso machine — I use a simple pour-over cone for my coffee, but a drip machine, French press, or Aeropress all work. If you have an espresso machine, even better. The key is strong coffee, so whatever method you use, make it a bit stronger than you normally would.
- Small saucepan — For making the vanilla syrup. Any small pot will do. I use a 1-quart saucepan.
- Glass jar or airtight container — For storing the leftover syrup. A mason jar works perfectly.
- Tall glass — A 16-ounce glass is ideal. I have a set of these thick-bottomed tumblers that keep drinks cold longer.
- Long spoon or straw — For stirring everything together. A reusable metal straw is my go-to.
- Measuring cups and spoons — Basic kitchen staples.
If you don’t have a saucepan, you can make the syrup in a microwave-safe bowl in 30-second bursts. Just stir between each interval until the sugar dissolves. And if you don’t have a coffee maker, instant espresso powder mixed with hot water works in a pinch. I’ve done it when traveling, and it’s surprisingly decent.
Preparation Method
Let me walk you through this step by step. I’ve included all the little details I wish someone had told me the first time I made this.
- Make the vanilla syrup. In a small saucepan, combine 1/2 cup water, 1/2 cup granulated sugar, and a pinch of sea salt. Split the vanilla bean pod lengthwise with a sharp knife and scrape out the tiny black seeds. Add both the seeds and the empty pod to the saucepan. (If using vanilla extract, add it after the syrup comes off the heat.) Bring the mixture to a gentle boil over medium heat, stirring occasionally until the sugar dissolves completely. This takes about 3-4 minutes. Reduce the heat to low and let it simmer for another 2 minutes. Remove from heat and let it cool for 5 minutes. Fish out the vanilla bean pod (rinse it, dry it, and stick it in your sugar jar for vanilla sugar — waste not, want not). Pour the syrup into a glass jar and let it cool completely. Store in the fridge for up to 2 weeks.
- Brew your coffee. While the syrup is cooling, make your coffee. I brew about 1 cup of strong coffee using a dark roast. If you’re using an espresso machine, pull 2 shots. If you’re using a drip machine, use a little less water than usual for a stronger brew. Let the coffee cool to room temperature, or pop it in the fridge for 10 minutes. You don’t want hot coffee melting all your ice.
- Prepare your glass. Fill a tall glass all the way to the top with ice cubes. I mean it — fill it up. You want enough ice to keep the drink cold without diluting it too fast. Large cubes are best because they melt slower.
- Add the syrup. Pour 2 tablespoons of your homemade vanilla syrup over the ice. If you like it sweeter, add up to 3 tablespoons. I usually start with 2 and adjust from there. The syrup will sink to the bottom, and that’s okay — it’ll mix in later.
- Pour in the coffee. Slowly pour your cooled coffee over the ice and syrup. Give it a quick stir with a long spoon so the syrup starts to incorporate. You’ll see the coffee darken as the syrup blends in.
- Add the oat milk. Slowly pour 1 cup of oat milk over the back of a spoon held just above the coffee. This helps the milk stay on top and creates that beautiful layered look. Don’t stir yet — let the layers sit for a second so you can admire them.
- Stir and enjoy. Give everything a good stir with a straw or long spoon. Taste it and adjust the sweetness if needed. Add a splash of heavy cream or coconut cream on top if you’re feeling indulgent. Serve immediately with a straw.
Sensory cue: When you pour the oat milk, watch how it swirls into the coffee. If it’s too thick and doesn’t mix, your oat milk might be too cold — let it sit on the counter for a few minutes next time. The final drink should look creamy and smooth, with tiny vanilla bean specks floating throughout. It should smell like a bakery and a coffee shop had a beautiful baby.
Cooking Tips & Techniques
I’ve made this creamy homemade vanilla bean iced oat milk latte so many times that I’ve learned a few tricks the hard way. Here are my best tips to get it perfect every time.
- Don’t skip cooling the coffee. I know it’s tempting to just pour hot coffee over ice, but that’s how you end up with a watery, sad latte. Let the coffee cool to room temperature first, or better yet, make it the night before and keep it in the fridge. Cold brew concentrate works beautifully here too.
- Use barista blend oat milk. Regular oat milk can separate or taste watery when mixed with coffee. Barista blends are formulated to hold up better in hot and cold drinks. They’re creamier and don’t get that weird grainy texture. If you can’t find barista blend, shake the carton well before pouring.
- Make extra syrup. The vanilla syrup recipe makes about 3/4 cup, which is enough for 6-8 lattes. Store it in the fridge in a glass jar, and you’ll have homemade lattes ready in minutes all week. I always double the recipe because I end up using it in other drinks too, like my cinnamon roll iced coffee.
- Layer carefully for presentation. If you want that gorgeous layered look for photos, pour the milk over the back of a spoon. If you’re just making it for yourself, don’t bother — just stir it all together. It tastes the same either way.
- Watch your ice-to-liquid ratio. Too much ice and the drink is weak. Too little and it’s warm by the time you finish. I use a 16-ounce glass and fill it almost to the top with ice, then add the liquids. The ice should displace about half the volume.
One mistake I made early on was using too much syrup. I thought more vanilla = better, but it just made the drink cloying. Start with 2 tablespoons and work your way up. You can always add more, but you can’t take it out.
Variations & Adaptations
This recipe is a great base for experimenting. Here are a few ways I’ve adapted it depending on my mood or what I have on hand.
- Vegan version: This recipe is already vegan if you use oat milk and skip the heavy cream. The oat milk makes it naturally creamy without any dairy. If you want it extra rich, use coconut cream instead of heavy cream.
- Sugar-free option: Swap the granulated sugar for a monk fruit sweetener or allulose. The syrup will be slightly thinner, but it still works. I’ve also used sugar-free vanilla syrup from the store in a pinch, but homemade tastes better.
- Extra creamy version: Add 2 tablespoons of heavy cream or coconut cream on top after you pour the oat milk. It creates a beautiful swirl and makes the latte feel like a dessert. I do this on weekends when I want to treat myself.
- Iced vanilla latte with different milk: Not a fan of oat milk? Use whole milk, almond milk, or cashew milk. Just note that the texture and creaminess will change. Almond milk is thinner, while whole milk is richer. I’ve tested all of them, and oat milk is still my favorite for that perfect balance.
- Spiced vanilla latte: Add a pinch of cinnamon or nutmeg to the syrup while it’s simmering. It gives the latte a warm, cozy vibe that’s perfect for fall. I love making this version when the weather starts cooling down.
One of my favorite variations is using this syrup in a spiced chai latte — just swap the coffee for strong chai concentrate and follow the same steps. It’s a completely different drink but just as satisfying.
Serving & Storage Suggestions
This creamy homemade vanilla bean iced oat milk latte is best served immediately, but there are a few ways to prep ahead if you’re busy.
- Serving temperature: Serve this drink ice-cold. If you’re making it for guests, fill the glasses with ice and pour the coffee and milk tableside for a fun presentation. It’s a little extra, but people love it.
- Presentation: I like to serve this in a clear glass so you can see the layers. A reusable straw makes it feel even more special. If you’re feeling fancy, top it with a sprinkle of cinnamon or a few vanilla bean specks.
- Complementary dishes: This latte pairs beautifully with a buttery croissant, a slice of banana bread, or even a simple bowl of granola. For a sweet treat, try it alongside a pumpkin pie white Russian for a fun dessert drink option.
- Storage: The vanilla syrup keeps in the fridge for up to 2 weeks in an airtight container. The coffee can be brewed ahead and stored in the fridge for up to 3 days. I don’t recommend storing the assembled latte — the ice melts and it gets watery. Just make it fresh.
- Reheating: This is an iced drink, so reheating isn’t really a thing. But if you want a hot version, skip the ice and warm the oat milk before adding it to the coffee. It’s a completely different experience, but just as delicious.
The flavors actually get better after the syrup sits for a day or two. The vanilla infuses more deeply, and the salt balances everything out. So don’t be afraid to make the syrup ahead of time.
Nutritional Information & Benefits
Here’s a rough estimate for one serving of this creamy homemade vanilla bean iced oat milk latte (using 2 tablespoons of syrup and oat milk).
- Calories: Approximately 180-220 calories
- Fat: 4-6 grams (from oat milk)
- Carbohydrates: 30-35 grams (mostly from sugar and oat milk)
- Protein: 2-3 grams
- Fiber: 1-2 grams
- Sugar: 20-25 grams (depending on syrup amount)
Oat milk is a great source of beta-glucans, which are a type of soluble fiber that can help support heart health. It’s also naturally free of dairy, nuts, and soy, making it a safe choice for many dietary restrictions. The vanilla bean contains small amounts of antioxidants, though honestly, you’re not drinking this for the health benefits — you’re drinking it because it tastes amazing.
If you’re watching your sugar intake, you can easily cut the syrup amount in half or use a sugar-free sweetener. The oat milk itself has some natural sugars, but it’s still a better option than many coffee shop lattes that are loaded with hidden sweeteners.
This latte fits into a balanced diet as an occasional treat or a daily ritual if you keep the portions reasonable. I personally see it as a small joy that makes the morning better, and that counts for something.
Conclusion
This creamy homemade vanilla bean iced oat milk latte is the kind of recipe that makes you wonder why you ever spent money at coffee shops. It’s simple, customizable, and genuinely delicious — the kind of drink that feels like a treat but takes almost no effort to make. Whether you’re a seasoned home barista or someone who just wants a better cup of coffee, this recipe is for you.
I love that I can make this exactly how I like it. Not too sweet, not too watery, with real vanilla flavor that doesn’t come from a bottle of artificial syrup. It’s become my go-to morning ritual, and I hope it becomes yours too. Play around with the variations, adjust the sweetness, and make it your own. That’s the beauty of homemade — you’re in control.
If you try this recipe, I’d love to hear how it turned out. Leave a comment below and let me know if you added your own twist, or share a photo of your latte on social media. Don’t forget to check out some of my other drink recipes for more inspiration. Happy sipping!
Frequently Asked Questions
Can I use instant coffee for this recipe?
Yes, absolutely. Dissolve 1-2 teaspoons of instant espresso powder in 1 cup of hot water and let it cool. It won’t be quite as bold as brewed coffee, but it works in a pinch.
How do I make this latte less sweet?
Use 1 tablespoon of vanilla syrup instead of 2, or swap the sugar in the syrup for a sugar-free sweetener like monk fruit. You can also use unsweetened oat milk to cut down on sugar.
Can I make this latte hot instead of iced?
Definitely. Skip the ice, warm the oat milk on the stove or in the microwave, and pour it over the coffee and syrup. It’s a completely different experience but just as cozy.
Why did my oat milk separate in the coffee?
This usually happens when the coffee is too hot or the oat milk is too cold. Let your coffee cool to room temperature before adding the milk, and use barista blend oat milk if you can find it — it’s formulated to resist separation.
How long does the vanilla syrup last?
Stored in an airtight glass jar in the fridge, the syrup stays fresh for up to 2 weeks. I’ve kept it for 3 weeks before, and it was still fine, but the flavor starts to fade after the second week.
Pin This Recipe!
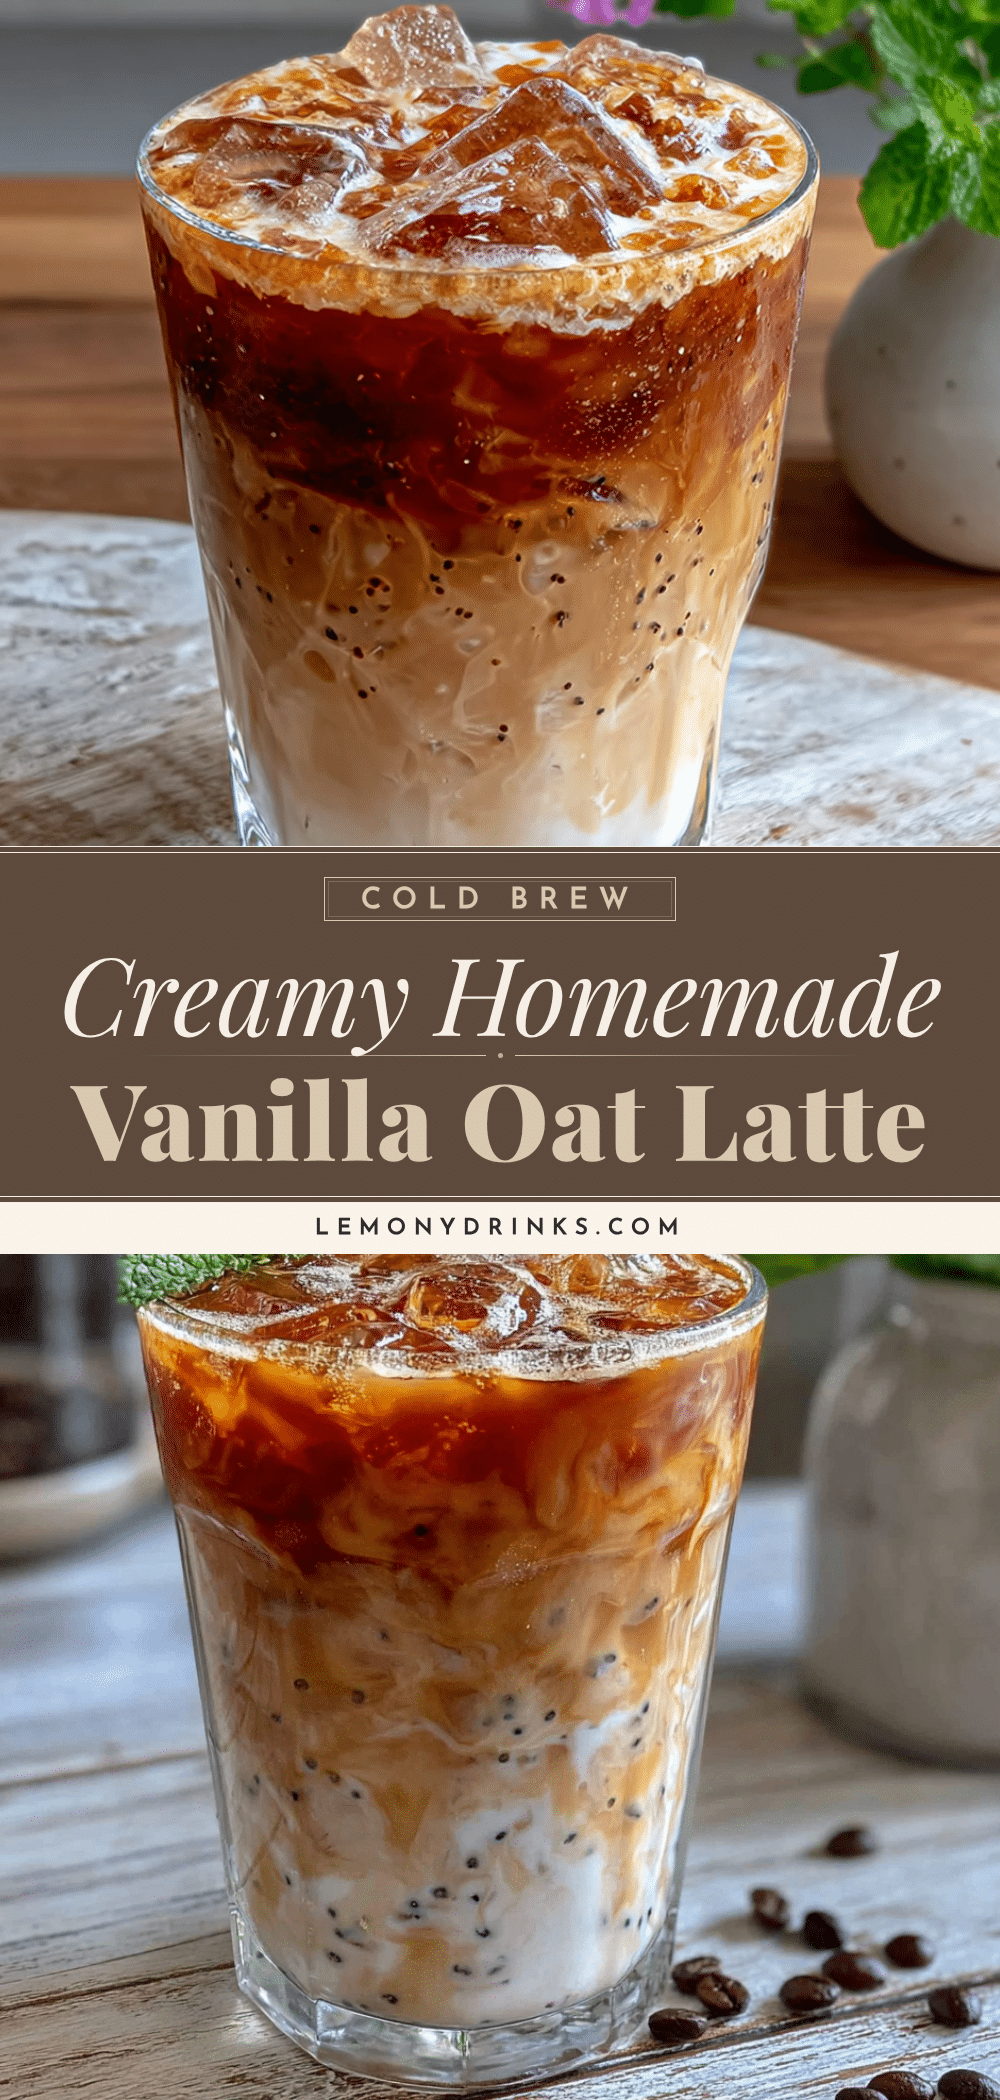
Creamy Homemade Vanilla Bean Iced Oat Milk Latte

A creamy, homemade iced latte made with real vanilla bean syrup and oat milk. Quick, easy, and customizable, this recipe delivers café-quality flavor without the price tag.
- Prep Time: 10 minutes
- Cook Time: 5 minutes
- Total Time: 15 minutes
- Yield: 1 serving 1x
- Category: Beverage
- Cuisine: American
Ingredients
- 1 vanilla bean pod (or 2 teaspoons pure vanilla extract)
- 1/2 cup water
- 1/2 cup granulated sugar (or coconut sugar)
- Pinch of sea salt
- 1 cup strong brewed coffee (or 2 shots espresso)
- 1 cup oat milk (barista blend preferred)
- Ice cubes
- Optional: 1-2 tablespoons heavy cream or coconut cream
Instructions
- Make the vanilla syrup: In a small saucepan, combine 1/2 cup water, 1/2 cup granulated sugar, and a pinch of sea salt. Split the vanilla bean pod lengthwise and scrape out the seeds. Add both seeds and pod to the saucepan. Bring to a gentle boil over medium heat, stirring occasionally until sugar dissolves (3-4 minutes). Reduce heat to low and simmer for 2 minutes. Remove from heat and let cool for 5 minutes. Remove the vanilla bean pod. Pour syrup into a glass jar and cool completely. Store in …
- Brew your coffee: Brew 1 cup of strong coffee using a dark roast. Let cool to room temperature or refrigerate for 10 minutes.
- Prepare your glass: Fill a tall glass to the top with ice cubes.
- Add the syrup: Pour 2 tablespoons of vanilla syrup over the ice. Adjust to taste (up to 3 tablespoons).
- Pour in the coffee: Slowly pour cooled coffee over the ice and syrup. Stir briefly.
- Add the oat milk: Slowly pour 1 cup of oat milk over the back of a spoon held just above the coffee to create layers.
- Stir and enjoy: Stir everything together with a straw or long spoon. Add optional cream on top if desired. Serve immediately.
Notes
For best results, use barista blend oat milk to avoid separation. Let coffee cool before adding ice to prevent a watery drink. The vanilla syrup can be made ahead and stored for up to 2 weeks. Start with 2 tablespoons of syrup and adjust sweetness to taste.
Nutrition
- Serving Size: 1 latte (16 oz)
- Calories: 200
- Sugar: 23
- Sodium: 100
- Fat: 5
- Saturated Fat: 0.5
- Carbohydrates: 33
- Fiber: 1
- Protein: 2
Keywords: iced latte, vanilla bean, oat milk, homemade syrup, coffee, dairy-free, vegan option